 FREE SHIPPING FOR USA ORDERS OVER $50


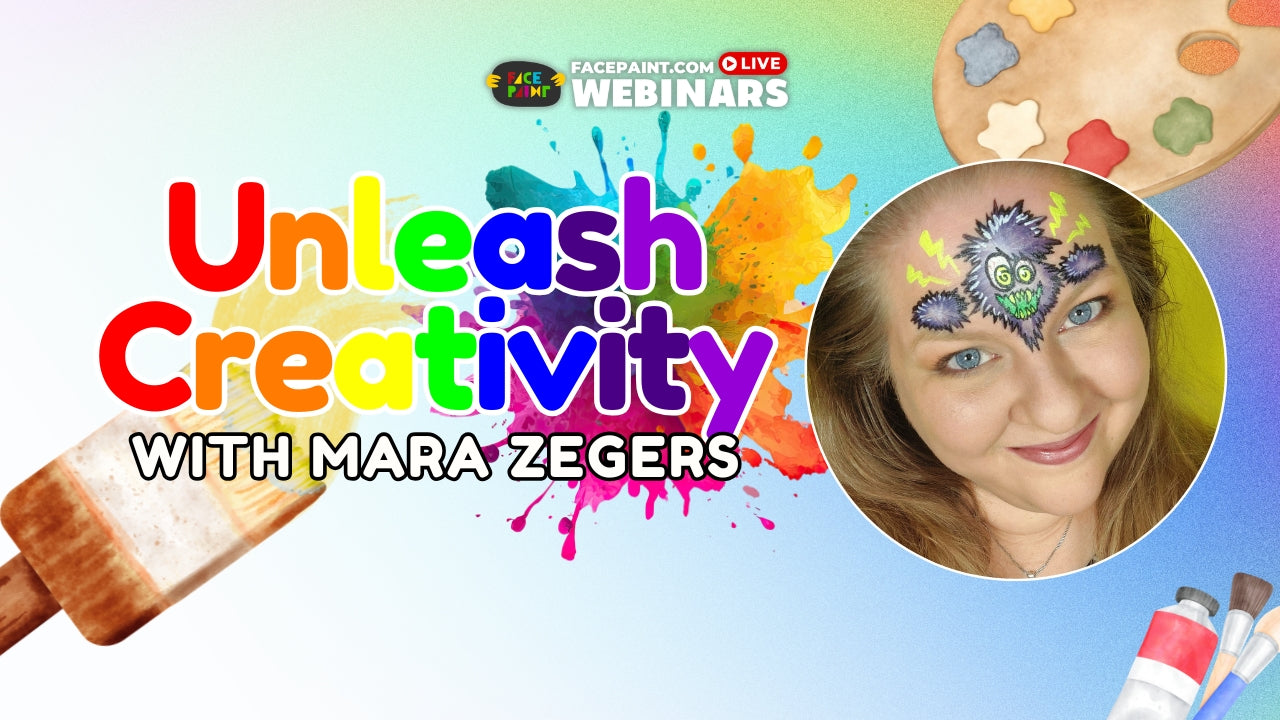
In this webinar, Kristin Olsson shows us a few of her on the job designs!
Design #1: Pink Roses

So, I’m loading my ½” flat brush from Marcela Bustamante with the pink paint from the Kraze FX palette and first I’m just gonna show you how I build up the rose before I move on to do the face paint. I start with the petal on the back. And what I teach in my classes when I do workshops and stuff, is the really good thing about flowers is that they don’t have to be perfect because in nature, all flowers look different. If they don’t look the same then that’s not a problem. I’ve done the back petal, now I’m going to go in and create the bud. So I do an “n” shape, then I do a “u” shape like this. And now I’m going to build around this with petals. So I press out and I sweep in. I’m not being too careful about it, it’s just kind of very organic. So that’s the basic shape for the rose. And now I’m going to make a version of this on the face.
When I do an eye design like this, I want to create a C-shape. I want it to be a thick middle, and then medium elements here and then thinner elements out towards the tip ‘cause then it curves nicely around the eye. That’s a very nice rule to have in mind for all eye designs that you’re doing. I’m also placing the main element above the eye level because it’s actually going to look flattering on your model’s face if you place it higher.
So I do the back petal first and now I’m going to go in and do the “n” shape, and I do a “u” shape [below that] and that’s the center of the rose. Going around like this. Now I’ve made the outer petals, and now I’m gonna build on the rest. When I do the petals, I make sure that they overlap so they don’t all end in the same point because it makes them look more realistic.
I’m gonna do a couple of bud shapes, one on the bottom and one on the top here as well to build out the design a little bit more. I’ll create another one on the top. Note that this is pointing in this direction now towards the focal point on the cheek that I’m working with there. I’m gonna try and sort of pull the design towards that part.
Let’s do some leaves as well. I’m loading a brush again. This is #10 Angle Brush from Sparkling Faces. I’ve loaded it with the dark [green] on the [tip] and now I’m going to basically build up the rest of the shape here with some leaves. I’m going to do some jagged leaves in different sizes. I’ve made some bigger and some smaller. You could actually just stick on some glitter and some dots and you could just leave the paint like this and it would be fine, but I do like to build on my paints a little bit.
I’m gonna add some stencils first because if you do the stenciling on top of the line work, it’s gonna be messy. I’ll just do some stars with this Ooh! Wrap Stars Stencil and the reason why I’m doing this is that I can make even more of a kind of pointed tip when I add the stars going towards my focal points like this. I’m spritzing water on a finger dauber and I am going to go in to my white paint. What you can do as well, if you want to, is that you can add a little bit of color so you get a nice pastel-y color after you do the white. They’re gonna pop more easily afterwards.
You can leave it like this or you can add a little bit of line work. I do like to add a little bit of line work around it and lots of painters don’t really like using black but I think it adds a nice contrast. So I’m going to go around this now. This is just to show you how you can kind of scale your designs up or down so if you think this is too hard to have the black outline, then skip it. You can use a different color as well. I’m trying to have a variety of thickness so I try to go from thin to thick when I paint the lines and, again, this is not necessary. It’ll look nice anyway. If you do the black outlines, it’s nice to have it in the entire design so it looks more harmonious [overall].
I’m gonna add dots with this color from Face Paints Australia called Mint Green and it’s one of my favorites for dots. It’s very nice and bright. I wanna fill out the empty spaces a little bit and I can do that just by adding some dots here and there. So that’s our eye design done!
Design #2: Quick & Easy Butterfly

I’m going to show you a nice, basic butterfly shape that I do on the job. It’s important to remember that with the shape of the butterfly, you have the top wing that’s kind of triangular and you have the bottom wing that’s more petal-shaped. This is how I build up all the butterflies, from this basic principle. The way I prefer to make the butterflies is to make them quite small so that you can see the whole butterfly when you look at the person from the front. I’m going to be using #16 Angle Brush from Sparkling Faces and I’m going to be laying a base down with this color here in the palette. I’m loading it up with the purple color on the long side.
I’ve just made little marks to show me the angle of the wing ‘cause we want it to go at a 45 degree angle and also to see the point to where it should go because sometimes the symmetry in face painting can be quite difficult to do. I’m going to be making the outer edge a little bit more interesting than just a triangle, so I’m gonna go up and down and then I make a little loop like this, and then bigger loop, and I swoop it in. I’m gonna do the same thing on the other side.
What I do on the job to save me time is sometimes I sponge the eyelids with a shimmer color but most of the time now I do it like this. Basically, I will just pick up the yellow color with a filbert brush that’s quite dry and just brush the color in. So, just kind of going over this very gently and I'm going to go for the bottom part here now. So I'm loading again and basically I'm going to be keeping this quite small under the eye. I'm doing a small loop and then it's another small one and I'm just going to bring it up. Do the same thing on the other side.
Now I’m going to do the line work with a #8 Angle brush from Sparkling Faces. So I’m starting here on the top and very gently pulling it in. Then I’m gonna work my way around and I’m pulling them all to the same point.
Rather than painting a butterfly body let’s do a rose bud in the middle. So doing a little rose bud in the middle and just a couple of petals and that goes really nicely with that kind of tropical color in the Kraze FX palette, I think it looks really nice together. I’m gonna add a few dots with that same light green color we used in the previous design. And that’s your butterfly.
Design #3: St. Patrick's Day-Inspired Floral

I'm gonna start by spritzing Face Paints Australia Green on my brush. And I'm going to triple dip this one, I'm also going to do Stormy from Face Paints Australia. So basically, I have a nice little lip petal. So basically, this is the main flower. I make a couple of petals a bit further up like this. So I leave space like that. I'm going to go in with a green and I'm going to make the shamrocks. I'm going to be doing some of those just with my one stroke brush. Load up my brush again and do another one. Little heart shapes.
I've still got gaps here but not to worry, we'll fix that. So I'm going to go in with a liner brush and I'm loading it with white. This is a Script Liner #1 by Marcela Bustamante. And I’m just going to be making little brush strokes and just kind of filling up the design a little bit. I’m kind of working my way towards the tip.
I’m gonna mix a neon yellow with a normal yellow now. Filling out with a few dots here and there. So that’s kind of shamrock or it can be just kind of a very spring-like design. That’s a fast double dip design.
Design #4: Dinosaur

So basically, I’m using a one stroke here and I’m just very roughly gonna make the shape of the head and the body going down like this. I’m not very accurate with this because when you kind of get this effect that the dinosaur is kind of around the head and the kid looks in the mirror and they’re like, “Woah! The dinosaur is eating my eye!” then it doesn’t really matter if it’s not perfect, they’re just gonna be like, “Woah that’s so cool.” So I just kind of created the body that’s kind of twisting here and I’m just swooping it down like this. So you have a very kind of simple shape here. I’m gonna go over this with a stencil. This is the BAM Mini Stencils and this is so cool, these little patterns here. I’ve loaded it with the one stroke here and just gonna do some black on the tip like this so you get a nice gradient. And then I’m gonna go over this with the dark color on the outer edge like that. That creates a nice pattern. I’m continuing the stenciling down ‘cause then it’s a nice finish to the design.
What I would normally do at this point is I would probably switch a color but now I’m not going to because we’re in a hurry so I’m gonna use GraffitiEyes Stencil just to create some pattern on the outside as well just to create a little more texture.
And then I’m going to go in and paint some teeth. I’m using a Round #2 from Sparkling Faces. So now I’ve done the teeth and look how cool that is when he’s eating up the eye. I’m gonna go over this very fast with some line work. Make the arms.
So you can leave it like this or you can go in and you can add just some highlights. When you do the highlights, you wanna do it where the light falls. There’s no point in doing lots of highlights on the bottom, you wanna kind of keep it on the top where the lights fall. So that’s our very quick dinosaur design.
Products Used in the Webinar:
Kraze FX Splash 12 Split Cake Palette
½” Flat Brush by Marcela Bustamante
#10 Angle Brush Sparkling Faces
Ooh! Wrap Stencil Stars
Face Paints Australia Mint Green
Face Paints Australia Essential Black
#16 Angle Brush from Sparkling Faces
#8 Angle Brush from Sparkling Faces
#5 Round Brush by Loew-Cornell
Face Paints Australia Essential Green Pistachio
Face Paints Australia Essential Blue Stormy
#1 Script Liner Brush by Marcela Bustamante
GraffitiEyes Stencil by Lea Selley
BAM Mini Stencils
#2 Round Brush from Sparkling Faces
Sparkling Faces Practice Boards
Kristin Olsson Q&A:
Q: Is taking a one stroke face painting class, not specifically for face painting, worthwhile? Or is it better to stick with face paint specific art classes?
A: Well, I think for face painting then the one stroke is like a technique but I think for face painting, it’s important to know the basics, like, the fundamentals of it so how you build up a design on the face, what you need to think of because the face—it’s three dimensional. It’s not flat. So there are some rules that are nice to think about when you build up a design. So I would recommend doing a face painting course that concentrates on the basics first, basically how you build up a design, and then you can develop the specific techniques afterwards, like one stroke or you can work on your sponge skills or whatever. But I think it’s really important to know the basics first just like with any skill, basically, and just kind of build your way up that way.
If you missed the live webinar, you can watch it now in the video above or later at our YouTube channel. Thank you, Kristin, for sharing your talents with us! Thank you to everyone who tuned in to the webinar. Click here to know our upcoming webinars.


Leave a comment (all fields required)