
Since I came up with this dream catcher design it is definitely one of most popular designs at every party! Big kids, small kids, and adults all have the same reaction every time...wow!
I promise you it's gonna be fast and simple.
Step 1
First of all, let's agree that stenciling your own hand is a challenge, LOL. Using the BAM Doily Stencil and Starblend Black, create a circle as a base for our dream catcher.

Step 2
With KRAZE FX Black and a Round Brush No3 paint a circle around the stenciled area and add breads, strings and details. Keep in mind not to paint the strings too close together so you have enough space for feathers.
Step 3
This is the best part of this dream catcher design! Use your favorite flat 3/4 brush load it well with Silly Farm Arty Brush Cake-Shadow, or any cake (usually smaller kids choose colorful/rainbow cakes). The brightest color goes inside and darker outside, tap "small lines" to create the feather shape.
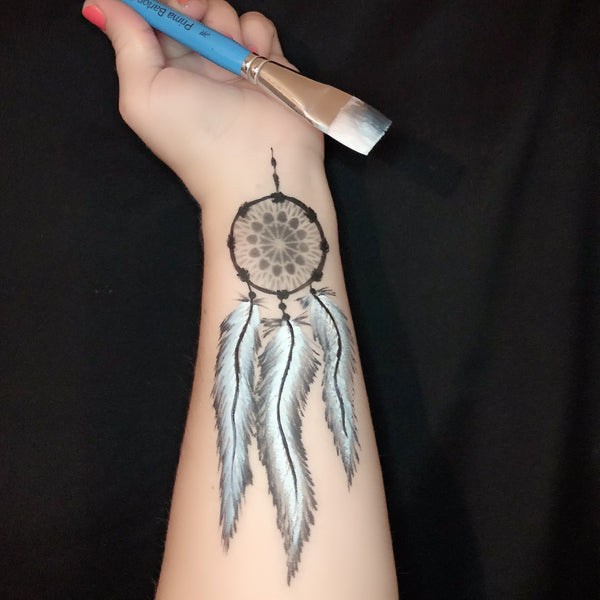
Step 4
Finishing up by adding shadows to one side of design for depth with Mehron Starblend Black, and we are done with our dream catcher!

**** Sometimes when I have extra time I will add Liquid Gglitter, or Glitter Creme on top of the painted feathers.

Thank you for your time, hope you are gonna try this design and love it as much as I do. If you paint any of our blog designs please tag us so we can see it.


